
When we create a query in R2 Docuo, we choose its category, the fields to be displayed in columns, the conditions that restrict its results and the parameters to be asked to the user.
Docuo queries can be used for a variety of purposes, the most typical being:
- Use them in a Start menu button.
- Use them directly in the query tree (green).
- Use them in the display of a tab in the detail window.
In this article we will explain how, once created, we can configure additional aspects of the behavior of a query.
How to access the configuration window of an existing query
Step 1: Using a user account with administrative privileges, open the query.
Step 2: Locate the three vertical dots icon next to the title:
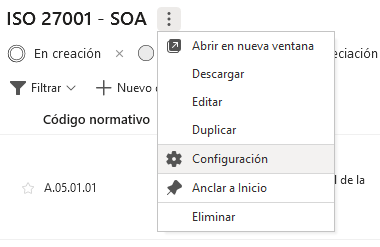
Step 3: In the pop-up menu, choose the “Settings” option.
Configure the buttons available in the “toolbar” of the query
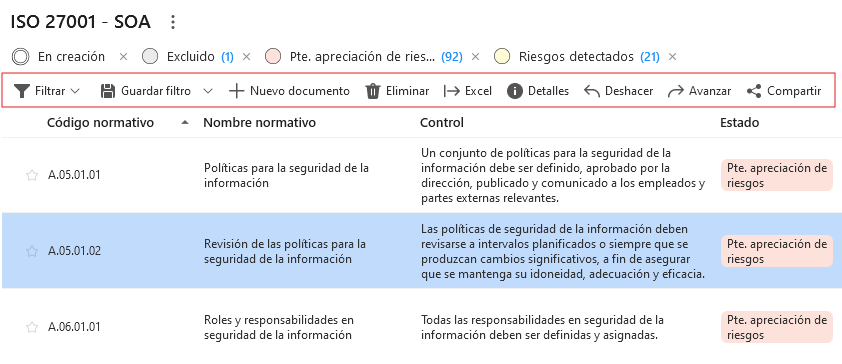
The queries display a series of actions in the top button bar:
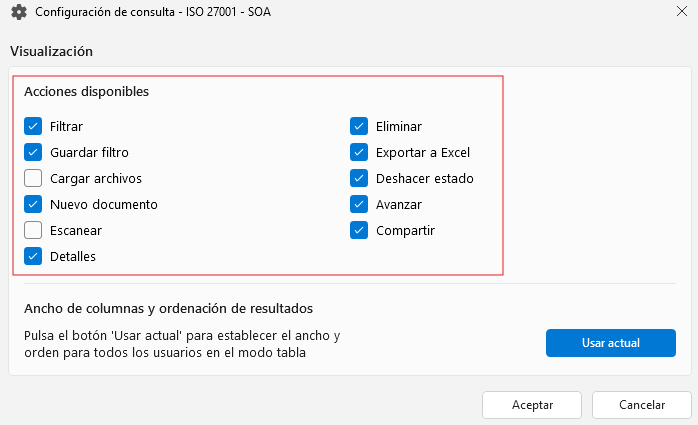
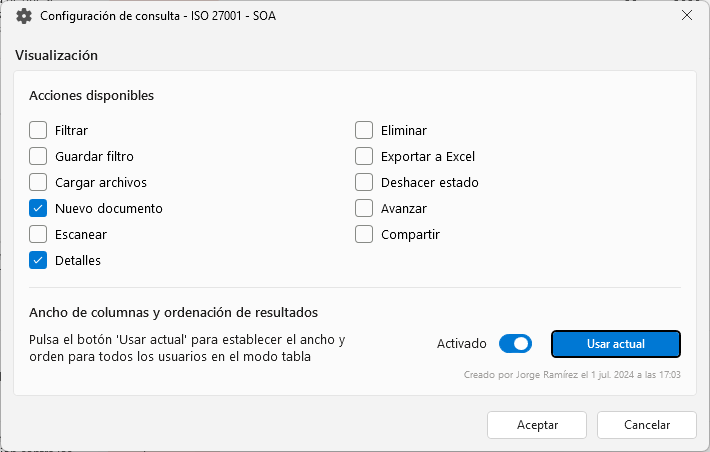
From the configuration window of a query, we can define which of these buttons should be available and which should be hidden:
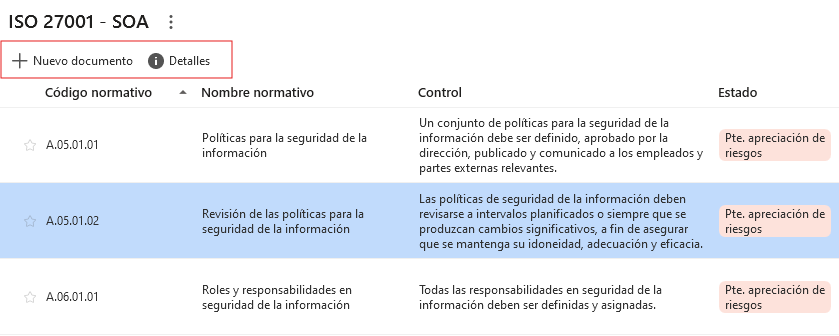
By deactivating actions, the button bar will be much cleaner, showing only what makes sense for the purpose of the query:
Set the placement and width of columns and order of results for all users
In general, users are free to drag the columns of a query to position them as they wish, change their width and choose the order in which the results are displayed.
Sometimes, it is convenient for a query to have a “fixed” position and order of columns and results for all users.
To achieve this, we must first set the query to our liking as any user would do.
When we have the consutla ready, we will access the Configuration window and click on the “Use current” button:

This takes a “snapshot” of our current layout and applies it to all users:
Now all users will see the query columns and results exactly as you see them. You can change the order and layout temporarily, but as soon as you click “Refresh” or run the query again, you will return to the preset order.
To deactivate this function and return to allowing each user to have his or her particular query layout, simply slide the “On” switch.