
This article explains how to create buttons in the details window of a category to execute actions when a user clicks on them. For example the “Analyze contract” button in this image:

Create a new button
The buttons are created as if they were a data field. Simply create a new field and choose the “Button” type in the “Data fields” step of the R2 Docuo Category Wizard:

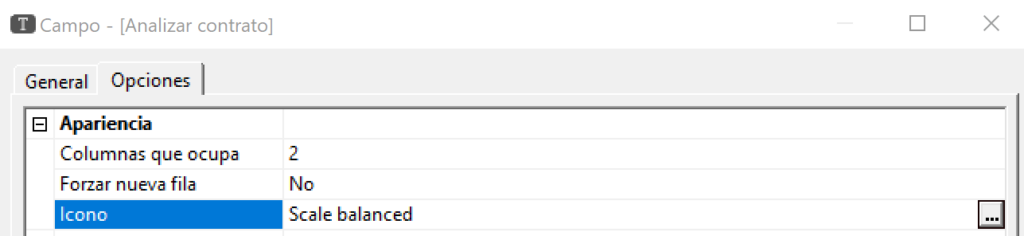
Choose the icon and appearance of the button
You can configure the button icon in the “Appearance” section of the field options:
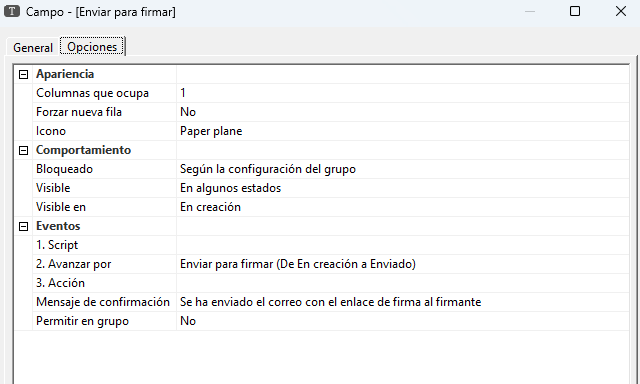
Configure the actions that are executed when a user presses the button.
When a user clicks on a button in the details window, you can schedule what happens in three separate and consecutive events:
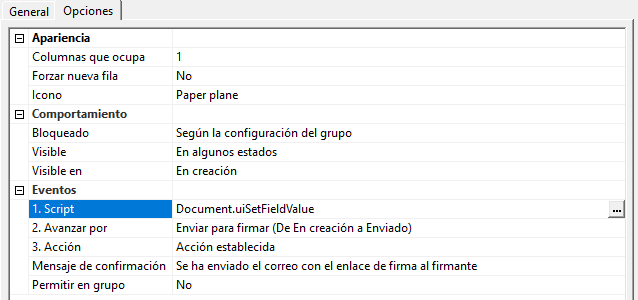
First event: “Script”.
This is a script (Javascript) that is executed first, immediately after the user clicks the button. This script can be configured in the “Events” section of the button options:
The advantage of programming the button behavior in the“On button press” event instead of in the“Action” Event (see below) is that, if the JavaScript functions used do not require using the R2 Docuo server (e.g. calculating the sum of two fields and placing the result in a third one or checking a condition), the execution is immediate and without waiting, since it is performed on the user’s device.
If the script does not return anything, everything will be considered OK. If the script returns a text string, it will be interpreted that an error has occurred and that text string will be displayed to the user.
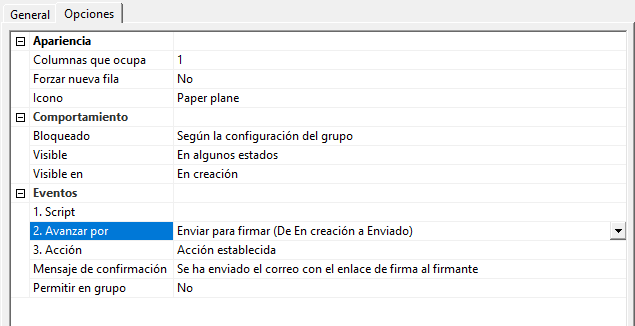
Second event: “Advancing by”.
Allows to configure a change of state when the user presses the button.
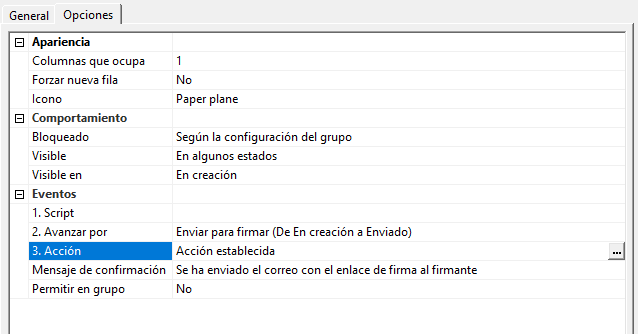
Third event: “Action”.
Allows you to execute one or several R2 Docuo automatic actions from among all those available: sending an e-mail, creating a document template, executing a script, etc. The action is configured in the “Events” section of the button options:
When configuring the Action event, all available actions are displayed:
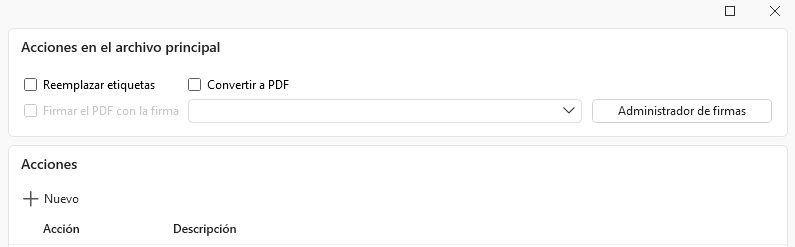
If we click on the “New” button, we can add Actions of various types:

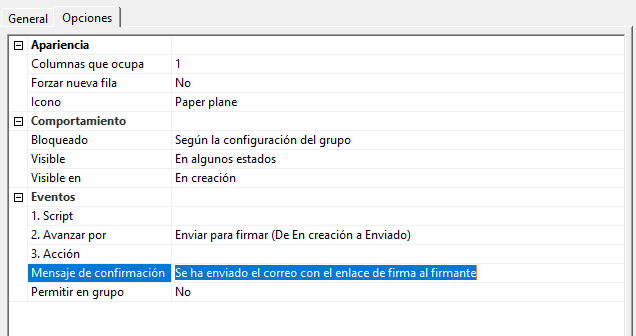
Set up a confirmation message
The “Confirmation message” property allows configuring a message, which will be displayed to the user when the actions programmed in the button events are completed without errors:
Error messages
Error messages may be displayed at two points:
- If the execution of the “On button press” event returns a text string, this will be understood as an error and will be displayed to the user.
- If the execution of the “Action” event returns an R2 Docuo error, it will be displayed to the user.
If there are no errors, the confirmation message is displayed.
Execute group button actions
If the “Allow in group” option of a button is set to “Yes”, it is possible to select several documents of this category in any list of results, right-click on them and perform the action for all of them:
The execution in this case will be carried out sequentially, document after document.
User experience at the push of a button
When a user presses a button, if the “Action” event is configured, or if the “On button press” Event uses R2 Docuo server-side functions, the user will see the document go to the “Automating” state for the duration of the actions execution.
In this state, all fields will remain read-only and a progress bar will be displayed (as, for example, when changing status).
When the automation is finished, the confirmation message is displayed to the user and the fields return to their usual state.